Engineered Tile Flooring Installation
For a no-stress engineered tile installation, consider these important points.
The Alterna collection of engineered tile flooring is faster, easier, and cleaner to install than traditional tile – not to mention, engineered tile is roughly half the cost to purchase and install.
Learn what to expect throughout the installation process, including how to determine if you should hire a Pro, or learn how to install groutable tile on your own.
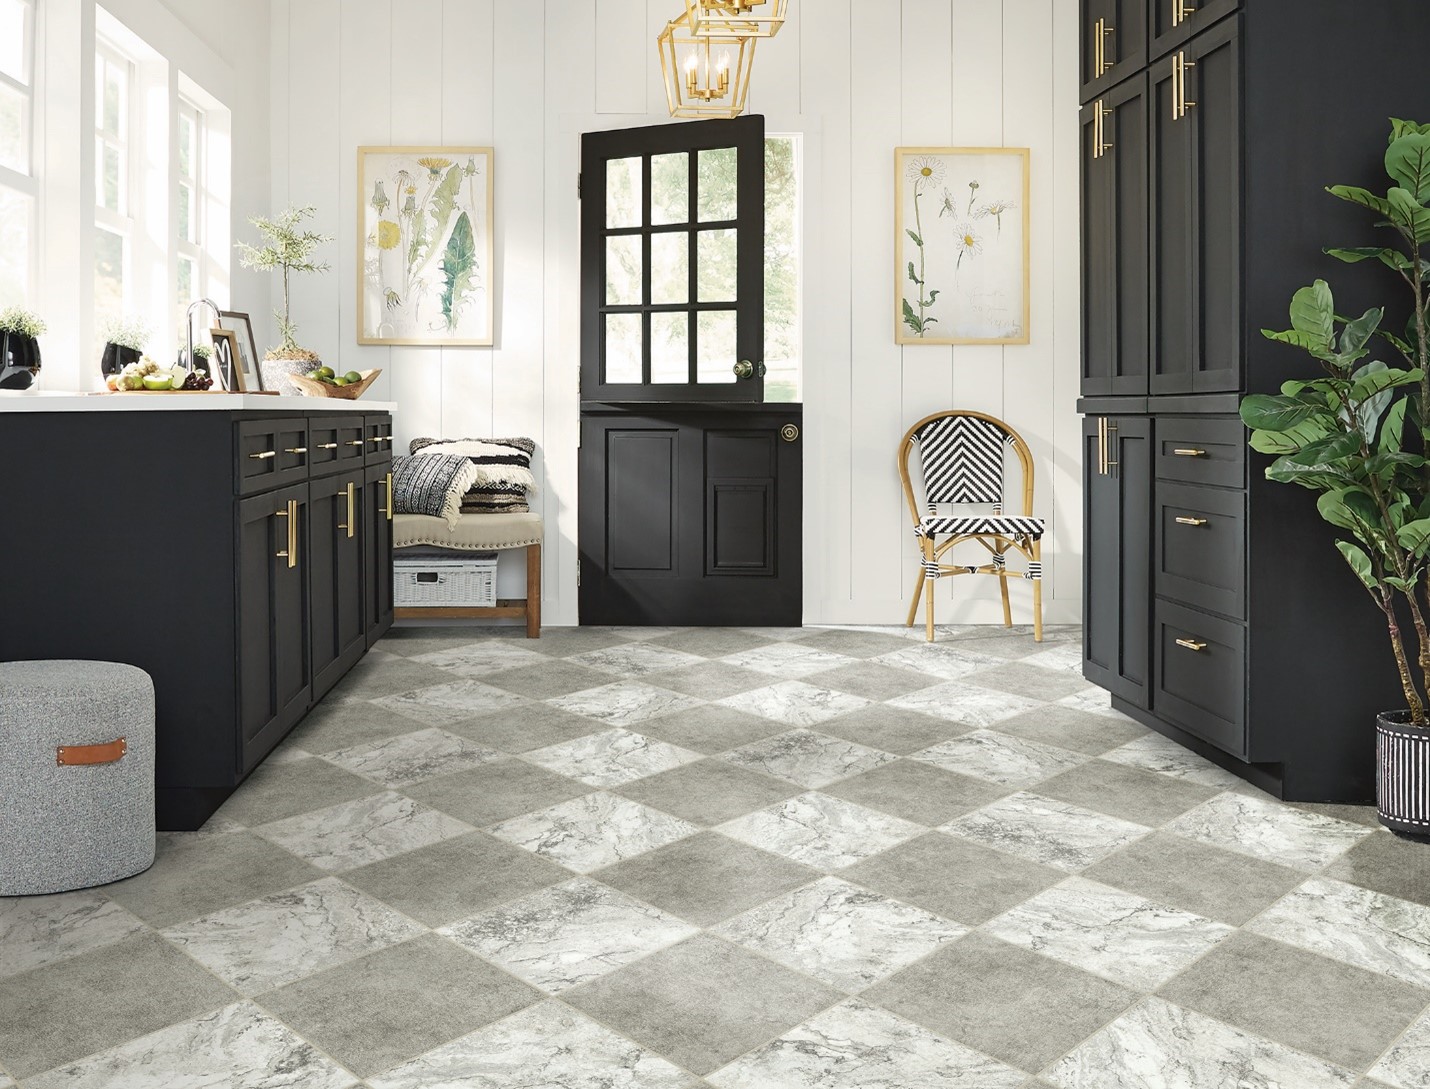
Gravity
in White and Whispered
Essence in Windy Sand from the Alterna
Collection
Installation Instructions
Things to Consider
Know your options.
If you’re familiar with the techniques used to install ceramic, porcelain, and stone flooring tiles, installing our Alterna collection is a breeze. Cleaner and easier to install than outdated tile materials, engineered tile is available in a wide selection of on-trend designs and is a more durable option for modern homes.
It’s worth noting that our engineered tile collections require a full-spread adhesive during installation.
Challenges
As with any home project, it is imperative that you identify any challenges that may delay or inhibit the installation process. A few things to consider are the layout of your space, the condition of your subfloor, and the level of difficulty to install your chosen pattern.
Also be sure to carefully plan where you’ll be having the tile installed, as we do not recommend installing engineered tile on shower walls, fireplace surrounds, or any wall application that is exposed to continuous saturation or temperatures above 300° F.
Refer to product instructions for additional information.
Project Budget
After identifying potential challenges and choosing a design that fits your motif, you can begin to work out a rough estimate of what the project will cost.
Be sure to account for things such as subfloor repair, removal and disposal of old materials, additional tools, and, if you’re not the DIY type, the cost of hiring a professional to oversee the installation.
Should I Hire a Professional?
The answer to this question depends on your skill level. If you’re an experienced DIYer that isn’t afraid of a challenge, there’s a good chance you can handle this type of project. That said, if you’re not very handy or are new to this type of work, we would strongly recommend hiring a professional.
While hiring a pro to do the job will drive up the cost of the project, it will also provide peace of mind knowing that your flooring was installed correctly.
Finding a Qualified Professional
Your local retailer can connect you with an Armstrong Flooring Certified Installer. Exclusively trained to install our products, these contractors take the time to ensure your new flooring is properly installed.
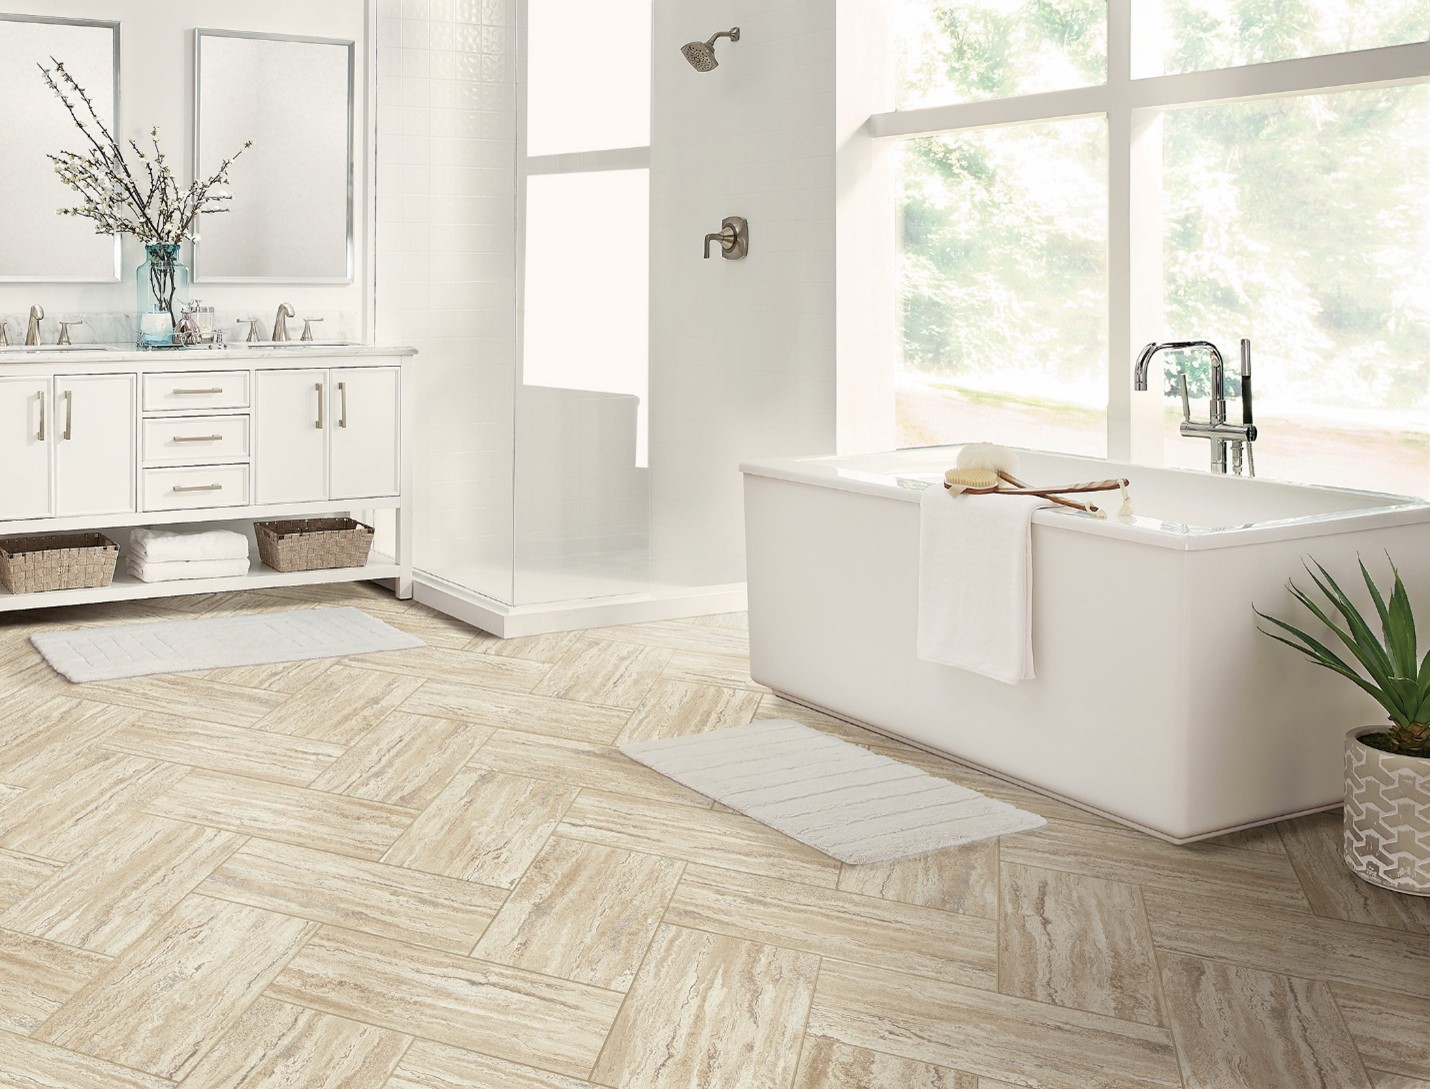 Kalla
Travertine in Cream Buff from the Alterna Collection
Kalla
Travertine in Cream Buff from the Alterna Collection
Preparation
Instructions
Carefully review the detailed instructions for your flooring to learn what you'll need and what to expect.
Do this well in advance, as there are certain conditions, such as extreme temperatures, which may require you to acclimate your flooring prior to installation. This step gives the flooring time to adjust to its new environment.
Room and Subfloor Prep
After thoroughly reading over the instructions, you can begin prepping your space for installation.
First up? Moving any and all furniture out of the space. Once the room is clear of furniture, you can begin gently removing any wall base, millwork, or trim that you would like to reuse after your new flooring is installed.
The next step – preparing the subfloor – is going to differ from home-to-home. If you’re lucky, your subfloor will be shipshape and level. That said, depending on the age and condition of your home, you (or your contractor) may need to make subfloor repairs before installation can begin.
Be sure the floor you’re laying over is dry, clean, and flat before installing your engineered tile.
What Tools Do I Need?
This will vary from project to project, but the following tools and materials are typically used during the installation process:
- Adhesive
- Coordinated Grout
- Spacers
- Trowel
- Underlayment Leveler
- Utility Knife
- 100 lb. Roller
* If you are not grouting your engineered tiles, coordinated grout is not required.
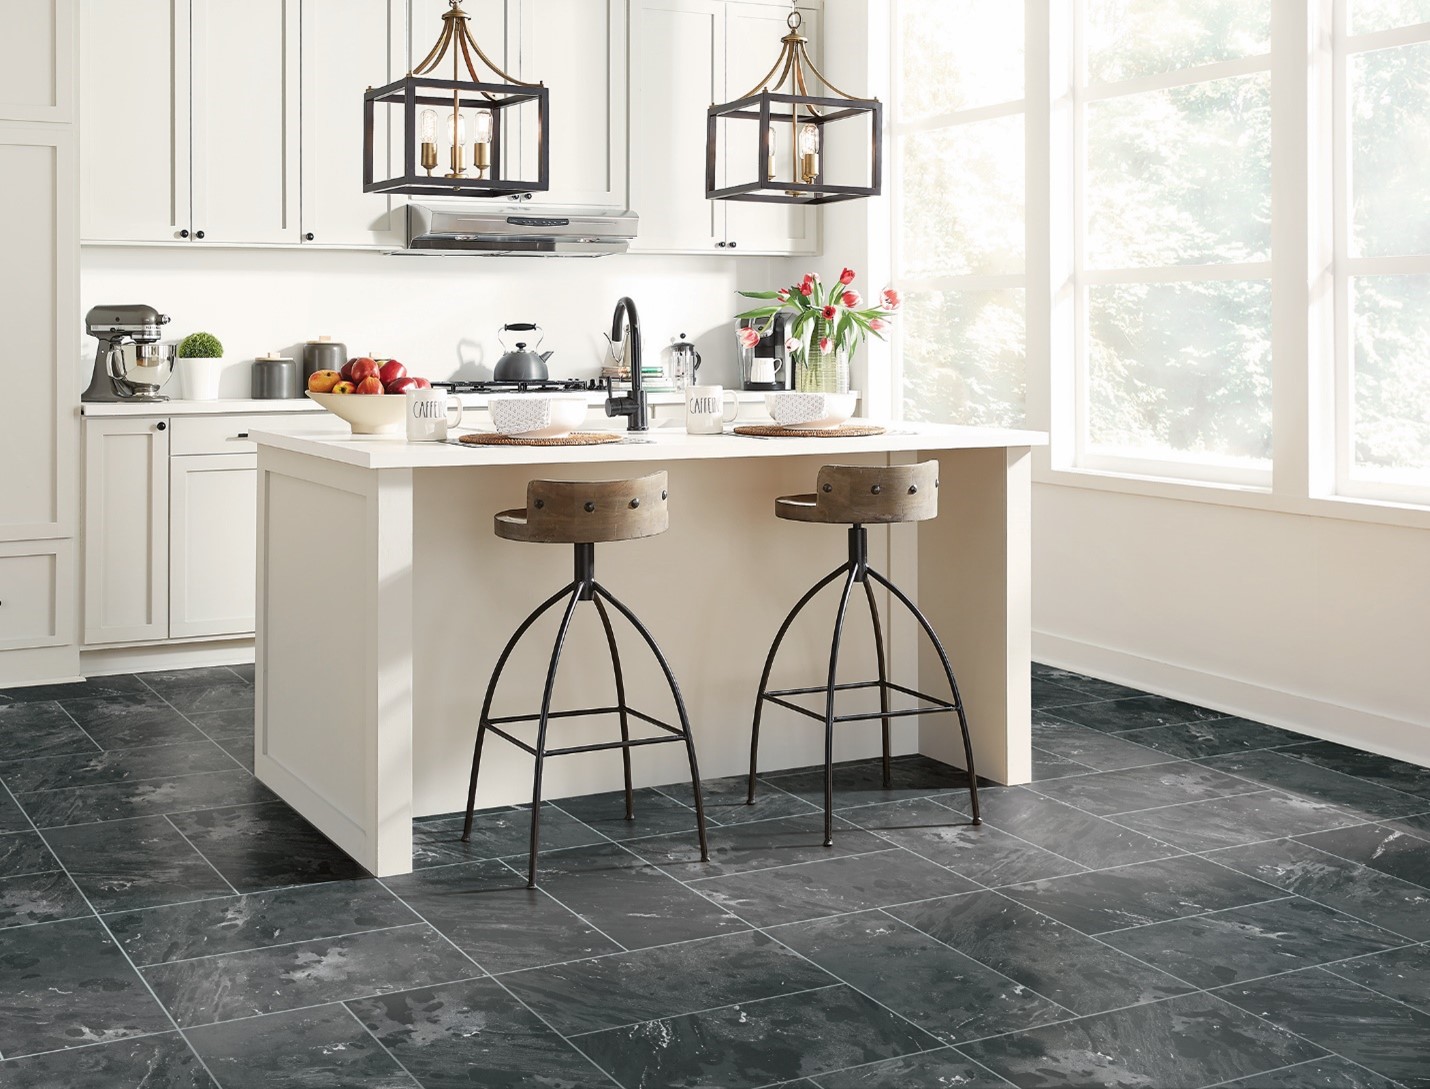 Curvatures
in Dynamic Grey from the Alterna Collection
Curvatures
in Dynamic Grey from the Alterna Collection
Installation
Read every step of the instructions provided with your product. They outline key details that might not be obvious, except to an experienced professional, including the following:
- Subfloor Requirements
- Establishing a Starting Point
- Tile Pattern and Layout
- How to Apply Adhesives
- Proper Grouting Techniques
If you or your professional installer have questions before or during installation, contact our Customer Service team.
Caring for Engineered Tile
Once your new floors are in place and optional grout has been applied and dried, clear tools and materials from the area and follow instructions for removing grout and cleaning the tile with the recommended cleaner for engineered tile.
Read our comprehensive guide to cleaning and caring for engineered tile here.